How to improve 3D print quality
Calibrate flow rate and pressure advance first: most uneven walls, blobs and gaps are calibration problems. Then work on the Z seam, layer lines and dimensional accuracy.
Calibrate first
Flow rate sets how much plastic each line gets; pressure advance offsets extruder lag as the head speeds up and slows down. If either is off, walls bulge at corners and thin on straights, and no other setting fixes it. Calibrate both for every filament with OrcaSlicer's built-in tests, included in Unlayered Slicer.
Hiding or removing the Z seam
Every wall loop starts and ends somewhere, leaving a bump or gap. Put it on the sharpest corner, or align it at the back. Round parts have nowhere to hide it, so use a scarf seam: it ramps the loop's start up and its end down over it, like a woodworking scarf joint, so the overlap blends in. Scarf seams are an OrcaSlicer feature that works the same in Unlayered Slicer. Then tune seam gap and wipe.
Reducing layer lines
Layer lines are worst on gentle slopes, where each flat layer ends far from the one below. Variable layer height thins layers only there; ironing smooths flat tops. On a 5-axis printer, the part tilts so the nozzle traces the surface instead.
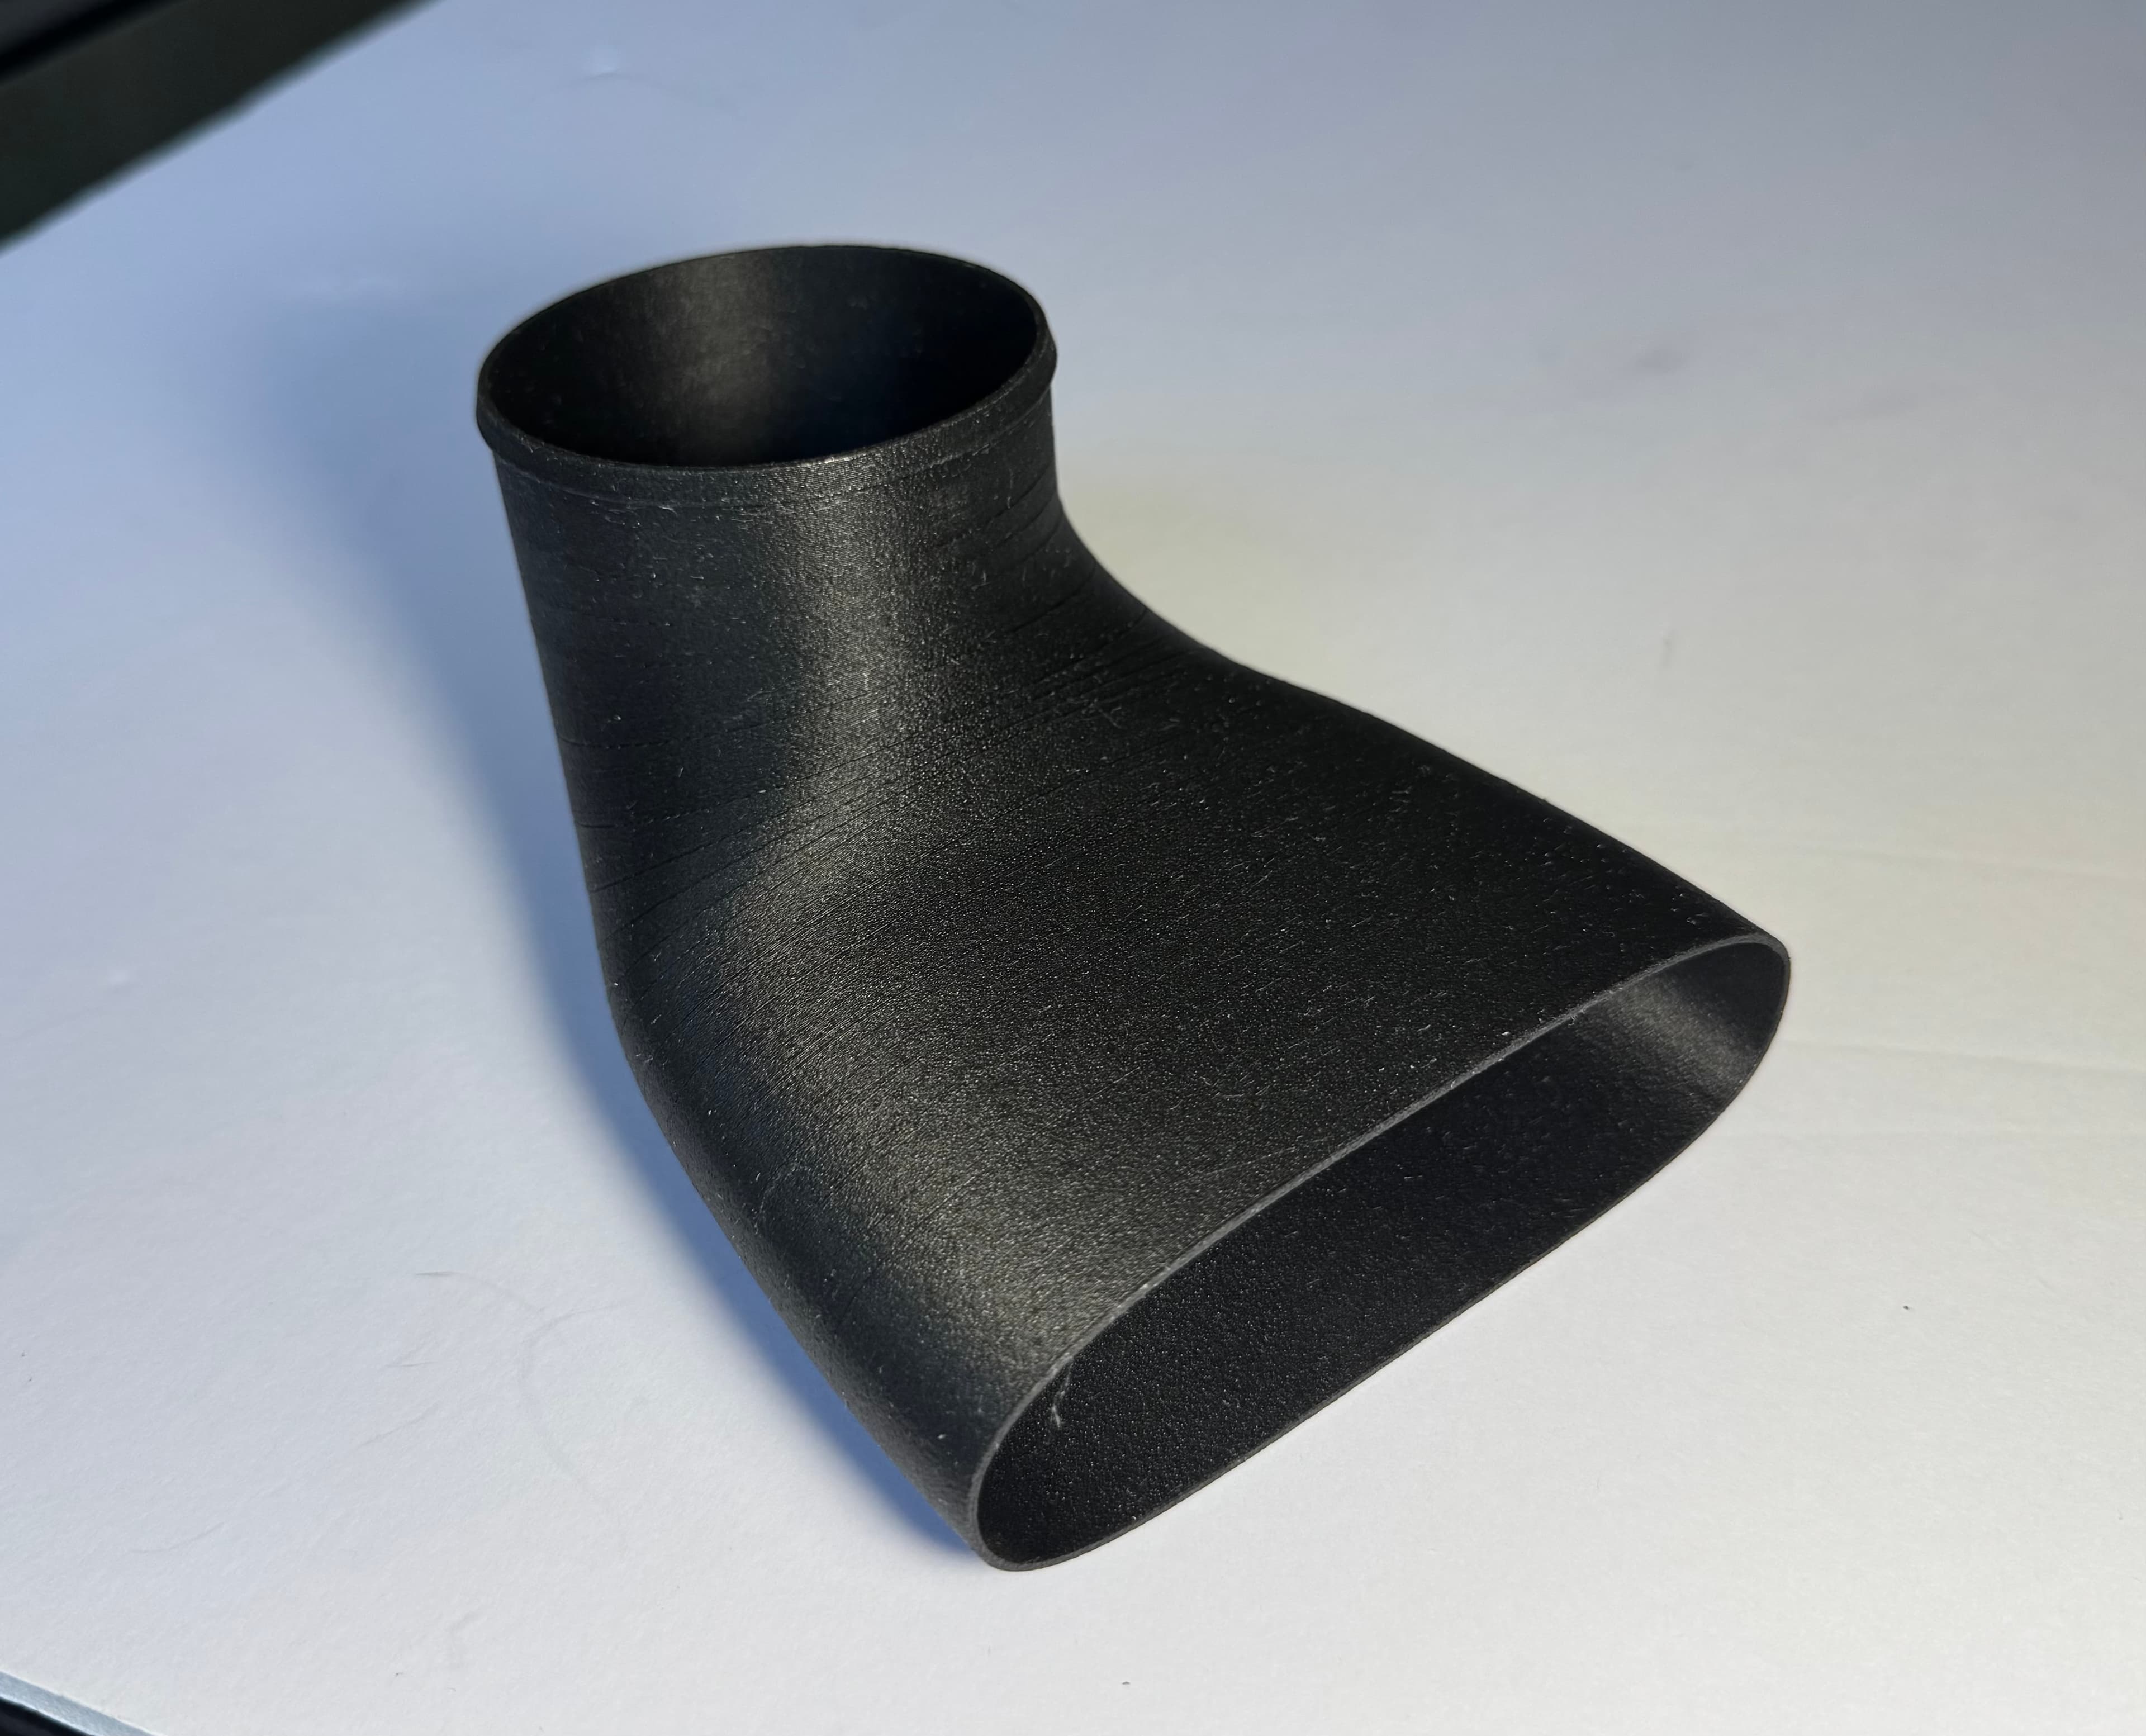
Smoother walls
Print the outer wall slowly, after the inner walls. Dry the filament: wet filament causes stringing, zits and rough walls. Ringing near corners means acceleration is too high for your input shaping.
Dimensional accuracy
With flow calibrated, measure a test part with calipers and correct the rest with XY hole and contour compensation. Use first-layer compensation for elephant's foot.