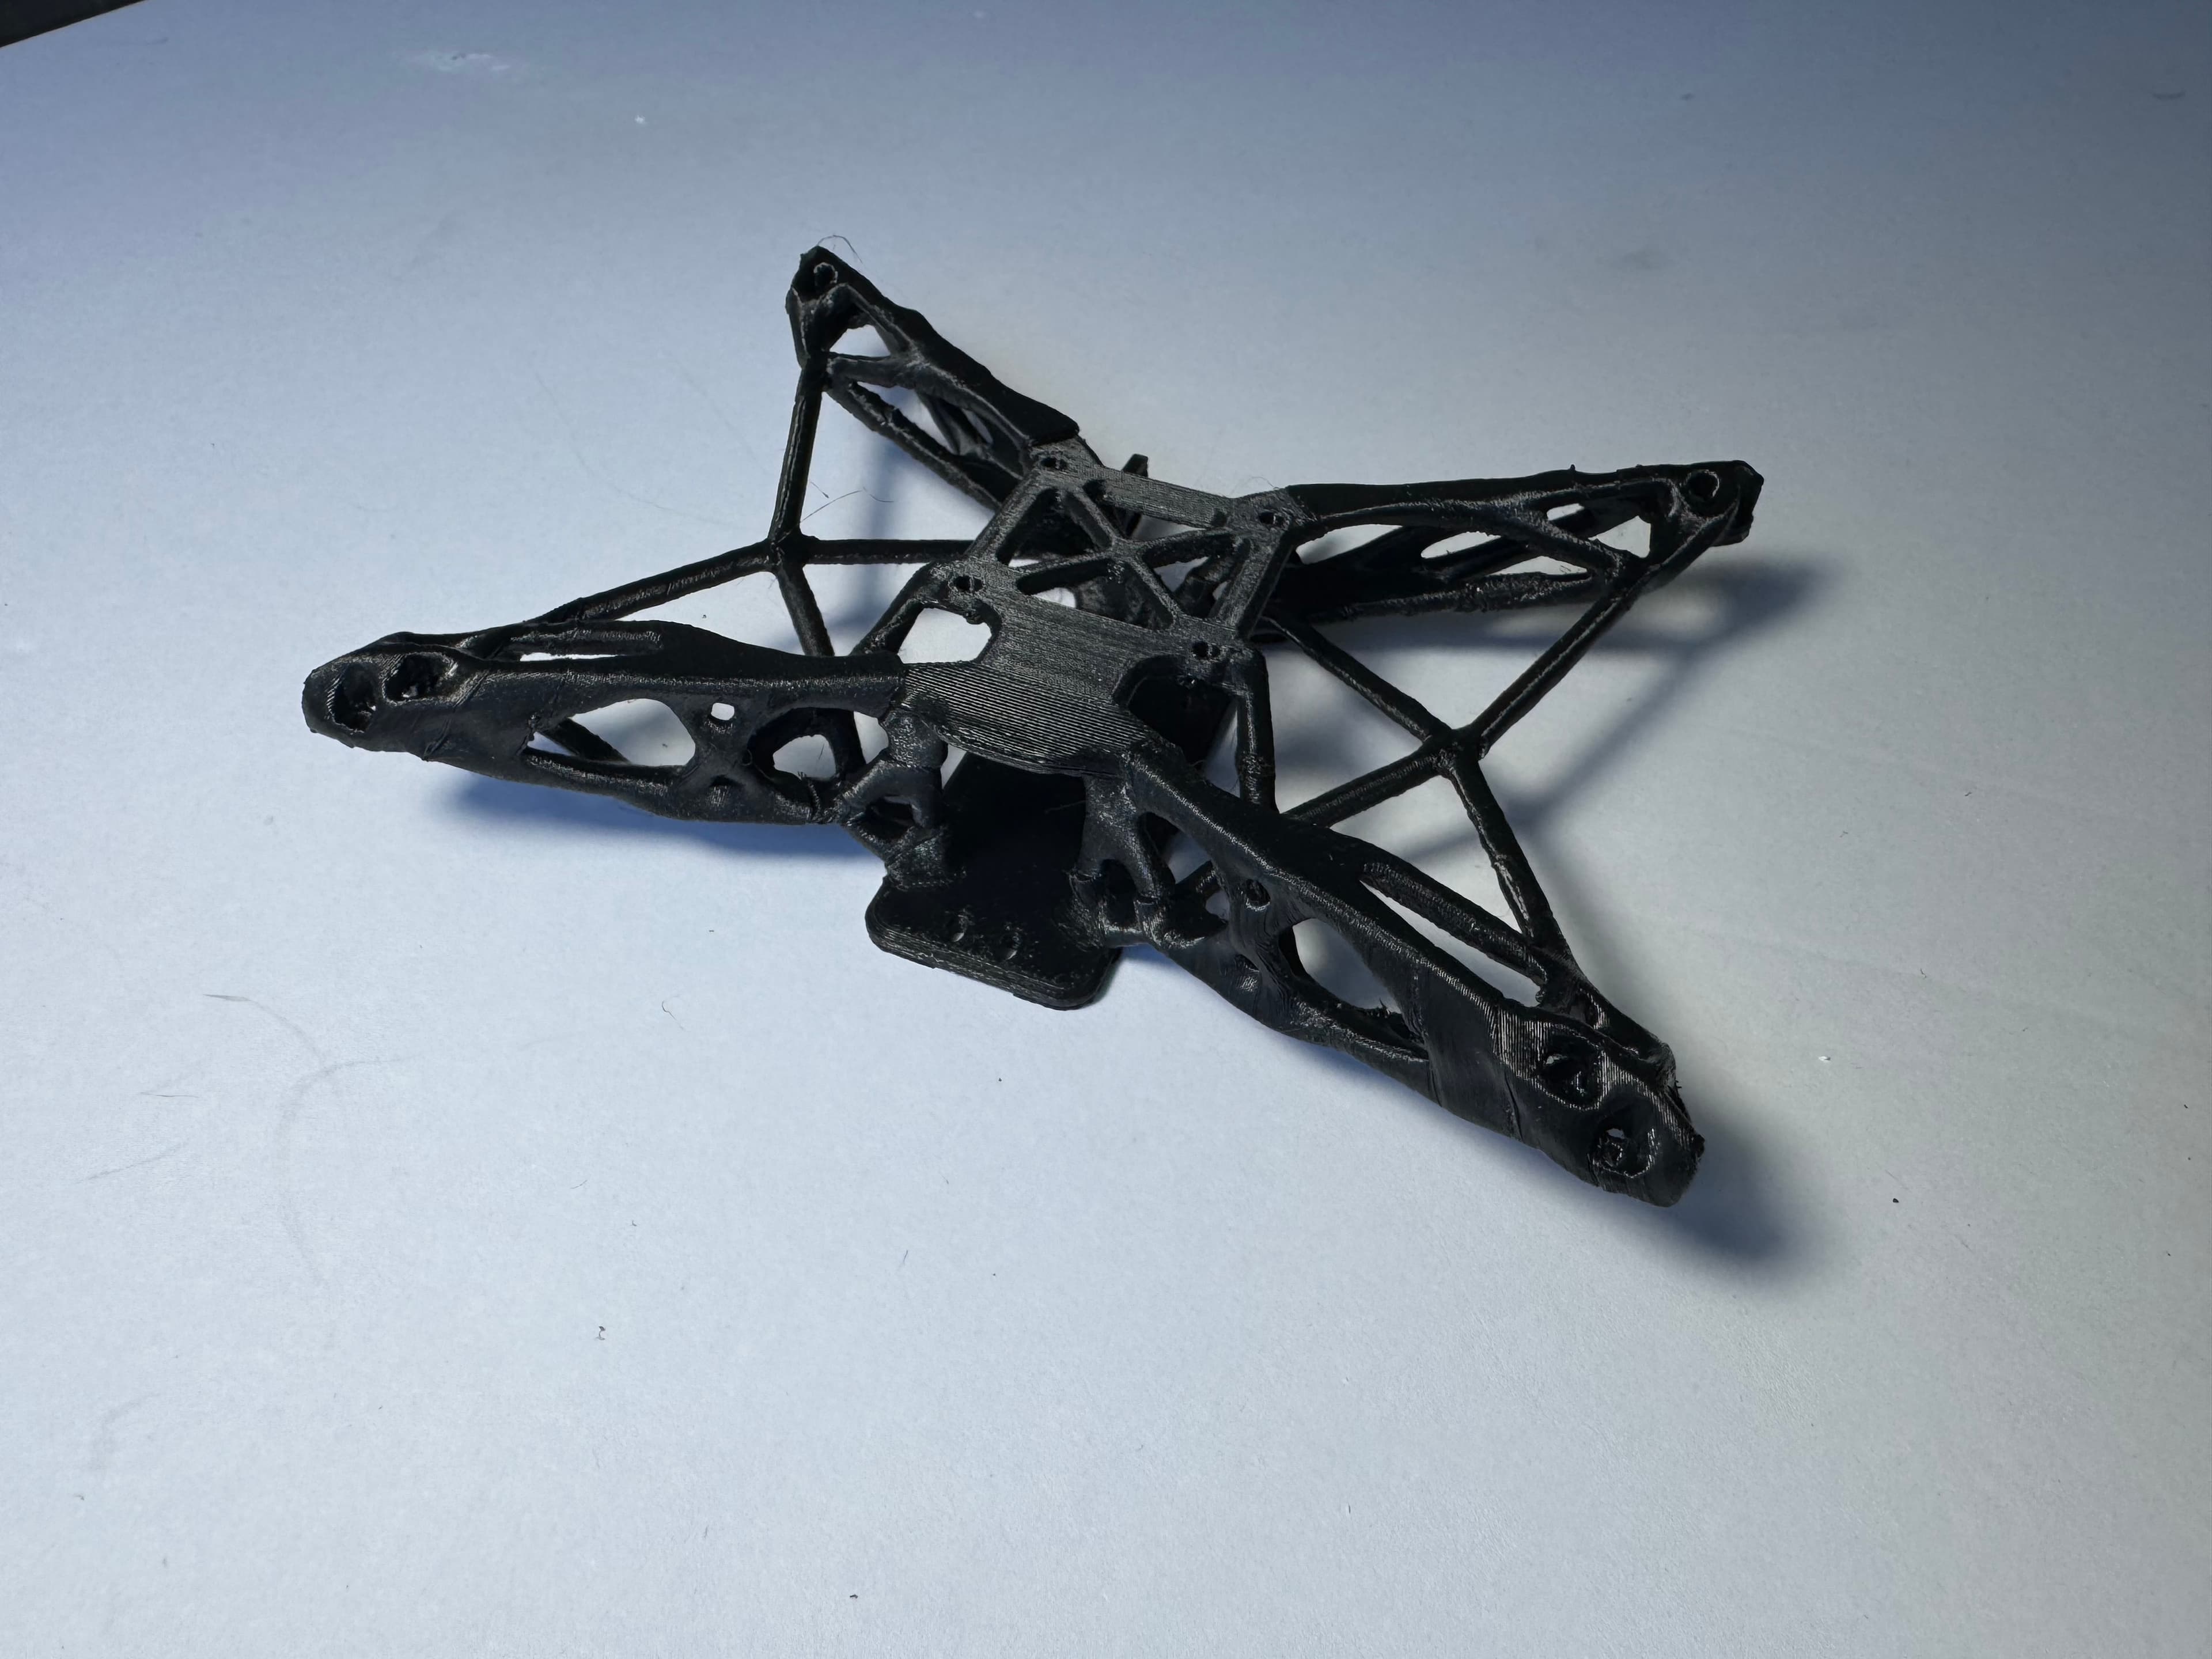
How to 3D print overhangs without supports
Overhangs up to about 45° from vertical print without supports on any tuned printer. Orientation and settings stretch that to roughly 60–70°. Past that you need a different toolpath: wave overhangs in Unlayered Slicer make even flat 90° overhangs printable without supports.
Why overhangs fail
Each overhang perimeter sits partly outside the one below. Past 45°, most of the line is unsupported, so it sags or curls up as it cools, and the curled edge catches the nozzle on the next layer.
Orientation first
Rotate the part so large overhangs face up or sit on the bed, or split it into pieces that each print flat. When designing, use 45° chamfers instead of downward fillets and teardrop-shaped horizontal holes.
Settings that extend the overhang angle
- Full part cooling on overhangs for PLA and PETG; less for ABS and ASA, which warp.
- Slower overhang perimeters, so each line sets before the next lands.
- Thinner layers, so each step out is smaller.
- OrcaSlicer's extra perimeters on overhangs and make overhangs printable, both in Unlayered Slicer.
Wave overhangs: a 90° overhang without supports
A flat overhang, like a shelf or flange underside, has nothing below it, so no setting saves it. Wave overhangs change the toolpath: Unlayered Slicer grows the overhang outward from the supported edge in waves, each line resting partly on the last. Each wave must cool before the next, so these regions print slower. Weigh that against printing a support, its filament, and the scar it leaves.
Removing overhangs entirely: 5-axis
A 5-axis printer tilts the part during the print, so each overhang is built on the material before it and stops being an overhang.